Cheppankizhangu Fry / Cheppankizhangu Varuval / Chamadhumpa fry / Colocasia Fry / Taro Root Fry / Chamadumpa Fry
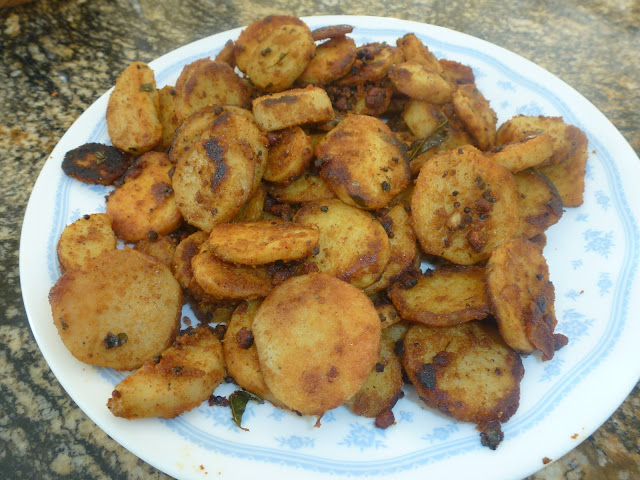
Start with, I am giving my version of Cheppankizhangu Fry ( Taro Root / Colocasia Fry ). Though I love this fry, somehow I was not a big fan of that sticky kozha kozha Cheppankizhangu Fry. To avoid that stickiness, I tried a different method to make the curry more delicious and presentable. My family loved this version and the appreciations at home made me to present this to you all in my blog confidently. This fry is definitely going to be an excellent side curry during any occasions. Instead of having our regular Potato fry, try to substitute this yummy Cheppankizhangu Fry in your menu and see the difference. Your comments and suggestions are always welcome to improvise this dish and also my blog.
Ingredients
Cheppankizhangu - 15 to 18
Oil - 2 tbsp
Hing - 1 DashMustard Seeds - 2 tsp
Urad Dal / Ulutham Paruppu - 2 tsp
Curry Leaves - 1 Stem
Turmeric Powder - 1 tsp
Red Chilli Powder - 3 tsp
Sambar Powder - 1/2 tbsp
Coriander Powder - 1 tsp
Salt - As required
Rice Flour - 1/2 tbsp
Method
- Peel the skin of the Cheppankizhangu and cut them into mini rounds or any shapes you desire. Generally the mini rounds would get fried uniformly and are best suited.
- In the frying pan, add the oil and heat it on medium flame. When its heated, add hing, mustard seeds, urad dal and curry leaves in order and when the tempering process is done, add the mini rounds of Cheppankizhangu into the kadai carefully.
- Add the turmeric powder alone first into the kadai and add little water ( about 1/2 a glass ).
- Allow the cheppankizhangus to cook on low flame for nearly 10 minutes. Stir it in the middle and add little more water if required while cooking. When its cooked three fourth, add required amount of salt into the kadai / pan.
- When the cheppankizhangus are completely cooked to your satisfaction, add the other powders and little more oil into the pan.
- Coat the cheppankizhangu rounds with all these powders on all sides and allow them to get fried uniformly on medium flame. Flip the rounds carefully during this process.
- When they turn golden brown, switch off the flame. Let the curry remain in the pan till you actually serve.
.JPG)


.JPG)
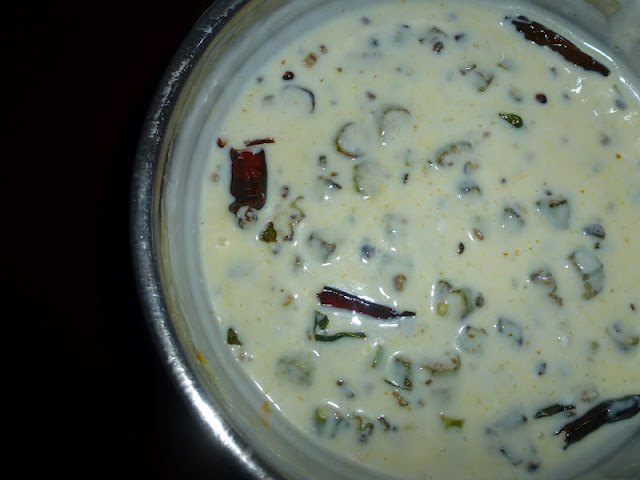
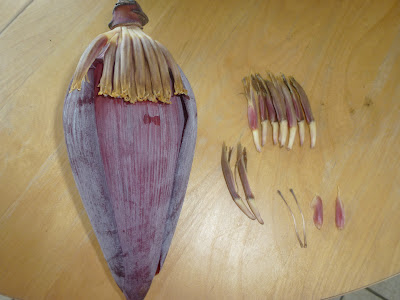
.JPG) Fresh Bitter Gourd - 4 or 5 cut into tiny pieces
Fresh Bitter Gourd - 4 or 5 cut into tiny pieces 


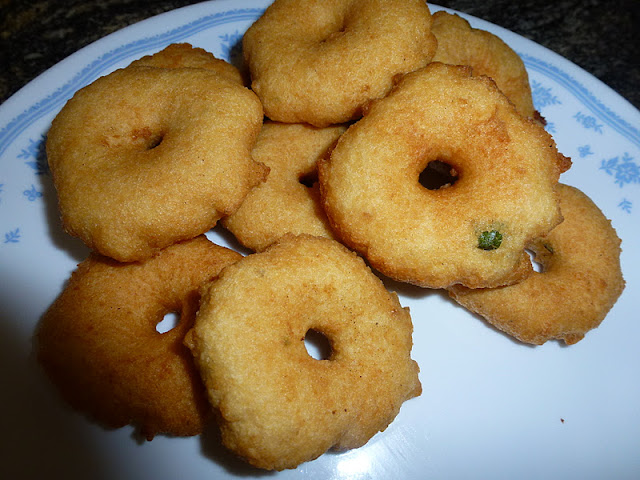
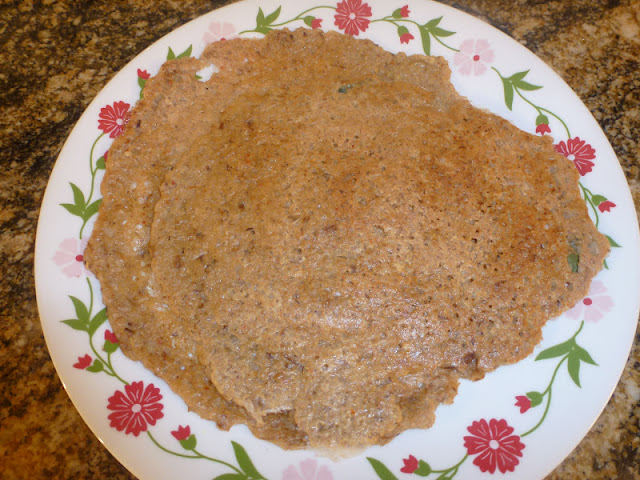
 Soak the Urad Dal in warm water for 1-2 hours. Grind them in a wet grinder by sprinkling very little water while grinding. Do not pour more water while grinding. Try to get a fluffy batter and keep it aside. If you are using a mixie, then try to use the whipper for grinding which gives a very fluffy batter.(In my experience). To that batter, add all the other ingredients and make a small round shape with a hole in the middle ( like a mini donut ). Drop them carefully into the heated oil in the pan. Fry them on both sides till golden colour and keep doing the same for the rest of the batter. Now the golden crispy vadais are ready for Neivedhyam.
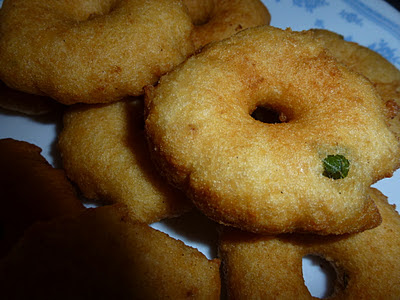