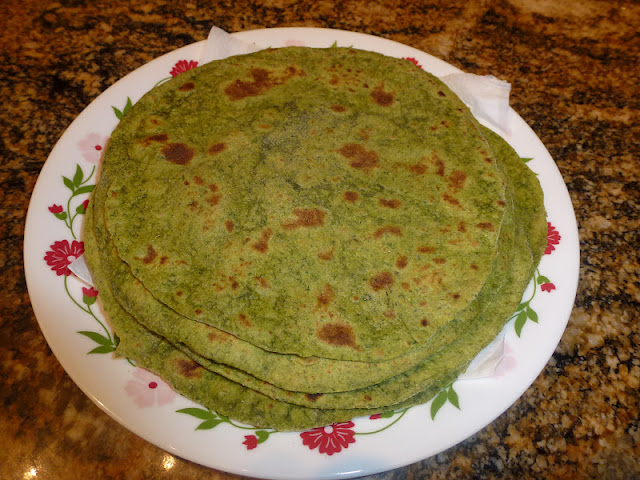
Baingan Bharta / Baingan Barta / Low fat , Healthy Style Baingan Bharta

I have tasted different versions of Baingan Bharta so far but this one is unique and special. My Mother-in-law has been making this type of Baingan Bharta since ages and she learnt this version during her calcutta days. My husband is a core fan of this version and he loves to eat this dish with hot rotis. Recently, I made this Baingan dish using our home grown Eggplant and it turned out very well. To my surprise, my daughter loved this spicy baingan dish and requested me to make this often. Though I am not a big fan of this version, due to its simplicity and less oil I love to enjoy this dish occasionally.
Ingredients
Eggplant - 1 Big or 2 Medium
Red Onion - 1 Medium ( I strongly prefer red onion )
Lime - 1/2
Green Chillies - 2 Big or 3
Salt - To Taste
Coriander Leaves - To Garnish
For the Tadka / Tempering :
Oil - 1/2 tbsp
Hing Asafoetida - 1 Dash
Mustard Seeds - 1 tsp
Cumin Seeds / Jeera - 1 tsp
Urad Dal / Ulutham Paruppu - 1 tsp
Channa Dal / Kadalai Paruppu - 1 tsp
Dry Red Chillies - 2 Medium
Curry Leaves - 2 or 3
Method
- Shred the onion and green chillies into small pieces and keep them ready. Squeeze the lime juice and keep it ready. Wash and crush the coriander leaves into pieces and keep them ready.
- Wash the eggplant ( Brinjal ) and wipe it off with the tissue. Poke 2 or 3 holes into the eggplant and roast the eggplant directly onto the flame using a suitable spatula. Rotate the eggplant in all directions till it turns black. The eggplant should shrink in all directions, get cooked inside completely and the skin of the eggplant should turn dark and lightly dry. This denotes the completion point and we could peel off the skin.
- If its roasted fully, then it would be very easier to peel off the skin. After peeling the skin, mash the cooked Eggplant thoroughly either using hands or masher in a big mixing bowl.
- Add the shredded onion, green chillies, lime juice, coriander leaves, required amount of salt into the mashed eggplant.
- In a frying pan, add oil. When its heated, add all the ingredients for the tempering process one by one and pour them over the mixing bowl.
- Mix everything well and finally garnish with coriander leaves. Enjoy this oil free side dish with your hot rotis.
Tips / Variations
- Instead of directly roasting the eggplant, you can microwave the eggplant or broil the eggplant in the oven too. But I adopt this method as the directly roasting process enhances the taste of the Baingan Bharta.
- If the size of the Bharta is medium, its easier to roast than the big ones.


 Green Yogurt - 6 ( 20 oz pack - 2 .I used )


 Ingredients


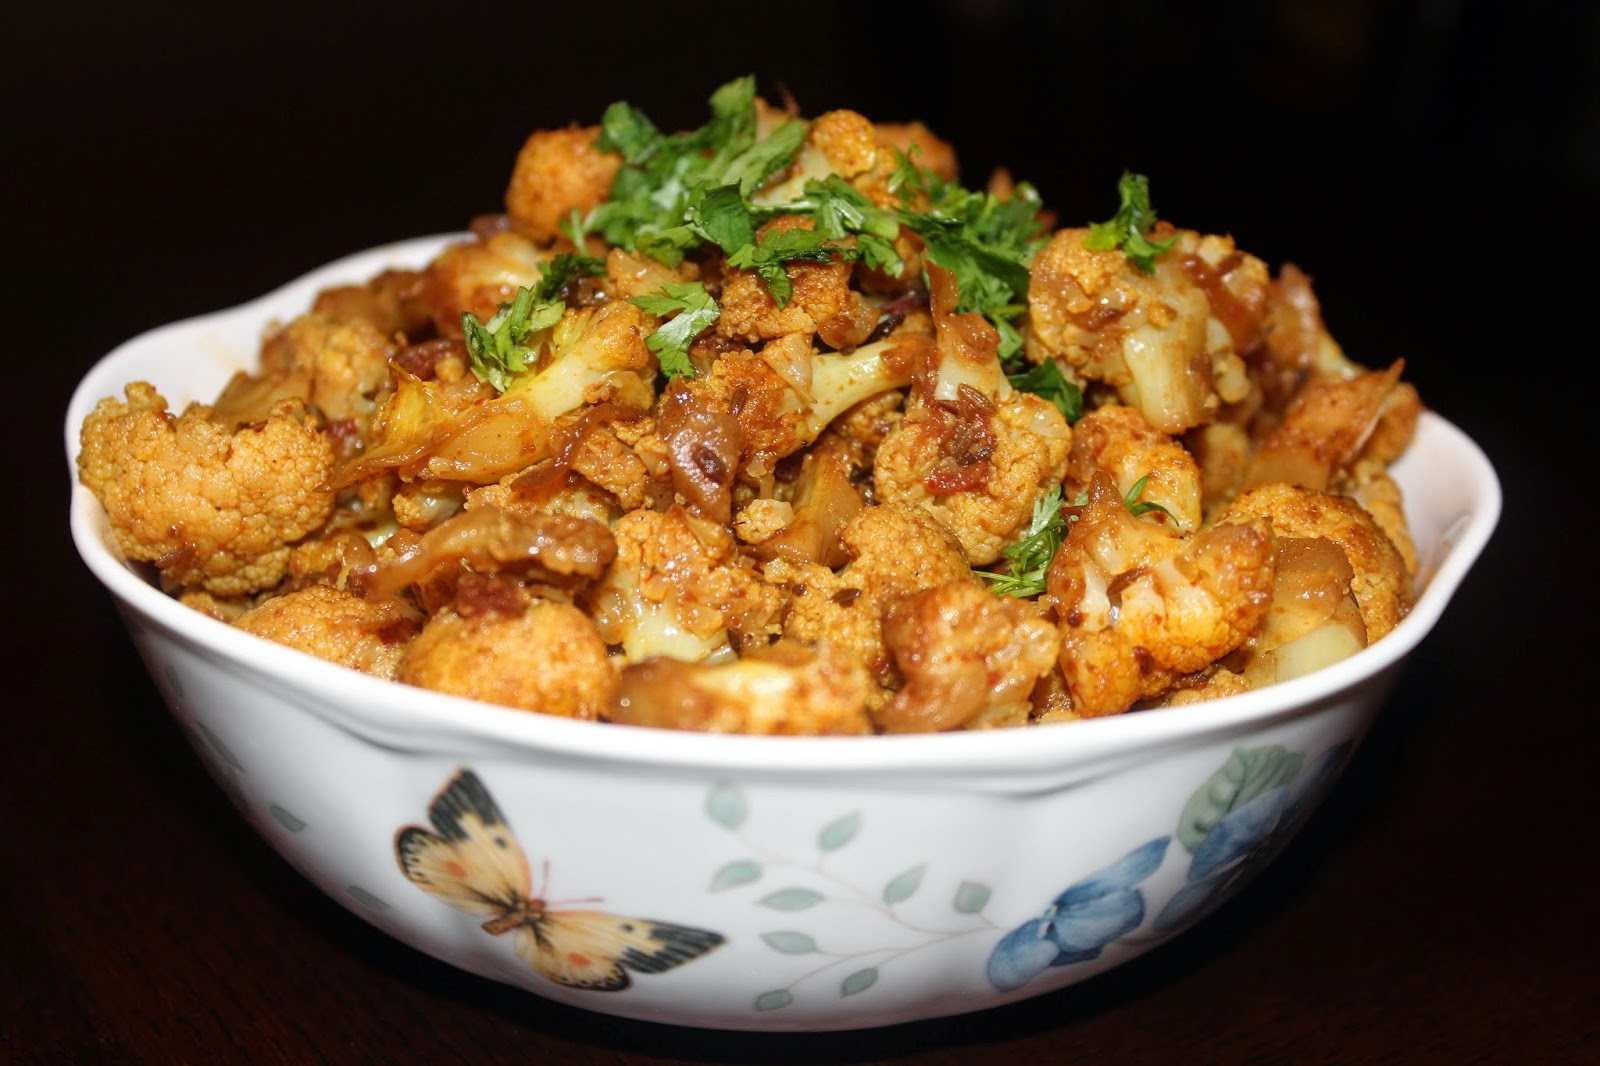
 Fresh Gobi / Cauliflower - 1 Big One

 Soak the Brown Masoor Dal in warm water for 30 minutes. Take out the leaves from the Dill Bunch and chop them nicely and keep ready. Chop the tomato, green chillies, garlic pods and keep them ready.


